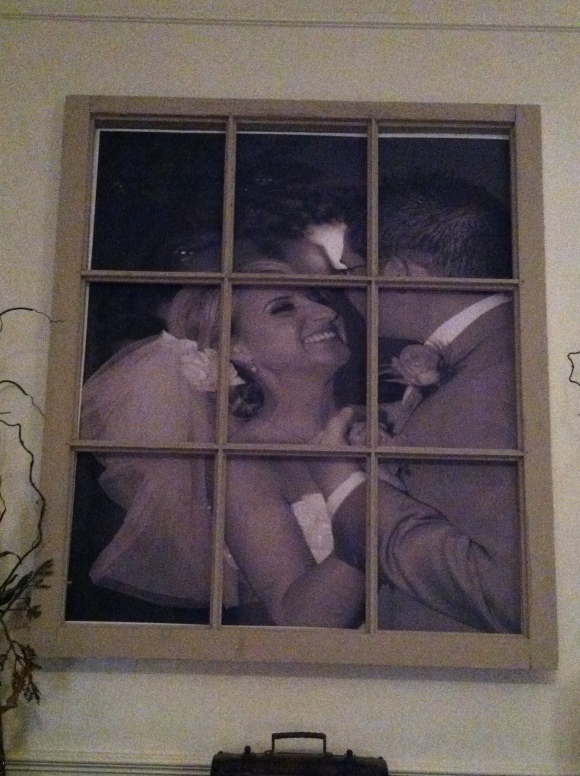
Several people have asked for the details on the window pane photo we have over our mantle, so I figured I’d post the specifics. You will be glad to know that this is an under $20 project (assuming that you find a cheap window to use).
Here’s what you’ll need:
- Large old window (I knocked the glass panes out of mine)
- Good quality Photo (10 mega pixels or higher)
- Large piece of foam board
- spray adhesive
- hot glue
- picture hanging bracket
- Office Depot (trust me, no one else’s price even compare)
*Before you get started there are a couple of things you should keep in mind. First, you should consider cropping photos to be a close up (I recommend close up of faces). If you don’t, you run the risk of one of the panes blocking someone’s entire body, going through the middle of their face, etc. Second, make sure your photo is a high quality picture, or it will come out fuzzy and distorted. If you unsure of the quality, I can tell you that most camera’s these days are sufficient and most phones are not.
- Measure the opening on your window to determine the size photo you will need. (I recommend adding at least an inch to this measurement)
- Put your photo file onto a disc or flash drive and head to Office Depot. Take your media to the print desk and tell them you would like an engineer print of your photo and what you need the dimensions to be. My local store charges $0.49/sq. ft. for black & white, 3.99/sq.ft. for color.
- Purchase foam board to mount the paper on. The sheets at Office Depot and Hobby Lobby were more than I wanted to pay ($14.99+) so I went to Lowe’s and bought a giant piece of foam insulation for $4.99 instead.
- Lay out your picture and cut down your foam board to the perfect size.
- Use spray adhesive to attach the photo.
- Hot glue it to the back of the window.
- Nail on your picture hanging hardware, and hang her up! 🙂
Wondering where to find the right supplies?
- Windows: canton, consignment shops, etc. A good price is around $10. I’ve seen them priced as high as $30… don’t fall for that, keep looking!
- Foam Board: You can find this in most office supply isles near poster board, but I recommend the cheaper route: foam insulation from your local hardware store.
- Spray Adhesive: You can usually find this near the craft glue or in the hardware section. It comes in a can like spray paint in brands like Elmers & Krylon.
- Picture Hanging Bracket: Hardware isle near nails OR in the framing department of craft stores.
